
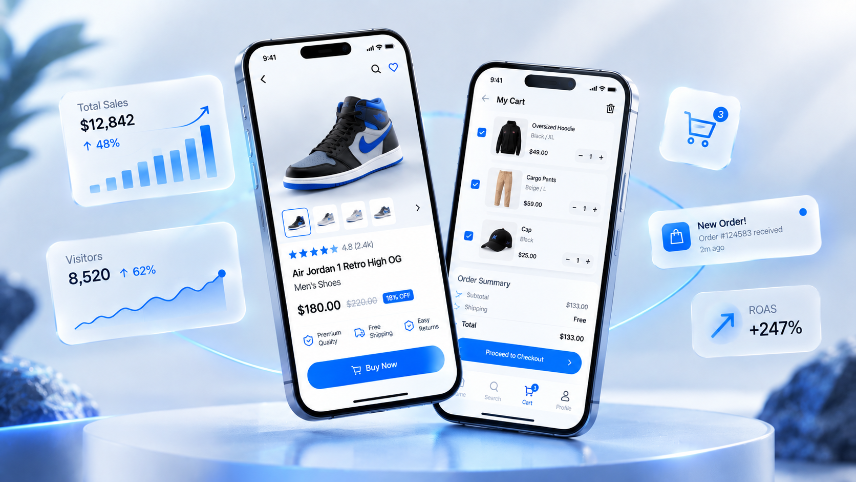
Most WooCommerce merchants assume AI-powered recommendations require a developer, custom PHP, or at least some theme editing. They don't. Modern AI recommendation tools install as a plugin, configure entirely through the WordPress admin panel, and connect to your existing catalog in minutes — no code touched. Here's exactly how to set one up.
Why "No Coding Required" Actually Matters
WooCommerce's default Cross-sells and Up-sells fields are manual — you pick products by hand, once, on each product's edit screen. Updating them at scale across hundreds of products isn't just tedious, it's the kind of task that quietly never gets done.
The alternative used to mean hiring a developer to build custom recommendation logic into your theme's `functions.php` or a child theme template. That's slow, fragile (breaks on theme updates), and puts a permanent maintenance dependency on whoever wrote the code.
A proper AI recommendation plugin removes both problems. It installs like any other WooCommerce extension, reads your product catalog automatically, and gives you a visual dashboard to configure placement, labels, and logic — the same way you'd configure any other WordPress plugin.
What an AI Recommendation Plugin Actually Does
Before installing anything, it's worth knowing what's happening behind the admin screen:
It reads your real order data. Instead of you manually deciding "customers who buy X also want Y," the plugin analyzes actual completed orders to find real purchase patterns — pairings you might not have noticed yourself.
It adjusts to each shopper's session. A visitor who's spent several minutes comparing two products gets different recommendations than one who added to cart within seconds. This happens automatically, with no manual rule-writing.
It improves the longer it runs. Every click, add-to-cart, and purchase feeds back into the model. A static Cross-sells field never gets smarter; an AI plugin does, without you touching it again.
Before You Install: What You'll Need
You don't need a developer, but you do need:
- Admin access to your WordPress/WooCommerce dashboard
- A store with at least some order history (new stores can still start — more on that below)
- 10–15 minutes for the initial setup
That's it. No FTP access, no code editor, no staging environment required for a standard WooCommerce theme.
Setting Up ReComAI on WooCommerce: Step by Step (No Code)
Step 1: Install the Plugin
From your WordPress dashboard, go to Plugins → Add New, search for ReComAI, and click Install, then Activate. Alternatively, install it directly from the ReComAI WooCommerce integration page, which also covers API-based connection for custom-built themes if you ever need it.
Time required: 2–3 minutes.
Step 2: Connect Your Store
After activation, a setup wizard appears in your dashboard. Click "Connect Store" — this authorizes the plugin to read your product catalog, categories, and order history. No manual data entry or CSV upload needed.
Step 3: Choose Where Recommendations Appear
In the ReComAI dashboard, go to Product & Cart Settings → Recommendation Zones. You'll see toggles for each placement:
- Product page, below Add-to-Cart (turn this on first — it's the highest-converting spot)
- Cart page, before the checkout button
- Below the fold / "more from this category"
Each toggle is a simple on/off switch — nothing to code, no template files to edit.
Step 4: Write Your Labels
Still inside the dashboard, replace the default recommendation heading with something specific to your brand — "Complete your order" or "Frequently bought together" consistently outperform a generic "You may also like." This is a text field in the settings panel, changed and saved instantly.
Step 5: Set Your Goal
Under Revenue Settings, pick what you want the AI to optimize for:
- Increase AOV — weights recommendations toward higher-price complementary items
- Increase units per order — weights toward lower-price add-ons
- Increase repeat purchase rate — weights toward consumables and replenishment items
Most stores start with AOV as the target, then adjust after a few weeks of live data.
Step 6: Configure Fallback Rules for New or Low-Data Products
Under Settings → Fallback Behavior, set what happens for products without enough order history yet (covered in more detail below). This is also a set of dropdown menus — no coding involved.
Step 7: Preview and Publish
Most recommendation plugins, including ReComAI, include a live preview so you can see exactly how the block will look on an actual product page before it goes live. Confirm it looks right, then toggle it live.
Total setup time: roughly 15 minutes, start to finish, entirely inside your WordPress admin.
The Cold-Start Problem (And the No-Code Fix)
Every AI recommendation tool needs some order data to work well — but new stores or new products don't have much yet. Here's how to handle it without writing any custom logic:
For new products (under 50 orders): In the plugin's dashboard, manually assign a starting "frequently bought together" group from a simple product picker — the same kind of interface you'd use to build a WooCommerce product bundle. The AI treats this as a placeholder and gradually replaces it with real data as orders come in.
For new stores (under 200 total orders): Switch the fallback setting to category-level recommendations ("More from our skincare range") instead of product-level ones. This is a single dropdown selection, not a rule you build from scratch.
What to expect:
- Weeks 1–2:Manual/category-level fallback recommendations
- Weeks 3–6:Hybrid — AI recommendations start influencing results
- Week 7 onward:Fully AI-driven recommendations with meaningful accuracy
None of this requires touching a line of code — it's dropdown configuration the entire way through.
Mistakes That Quietly Kill Performance (Even Without Coding)
Mistake 1: Leaving the Default Label On "You may also like" is generic and reads as filler. Change it in the settings panel — it takes 30 seconds and measurably affects click-through rate.
Mistake 2: Turning On Every Placement at Once Enabling product page, cart page, and checkout recommendations simultaneously on day one makes it hard to know what's actually driving results. Start with the product page (below Add-to-Cart), confirm it's working, then add the cart page.
Mistake 3: Ignoring the Out-of-Stock Exclusion Setting This is usually a single toggle — make sure it's on. Recommending a sold-out product is one of the fastest ways to lose shopper trust, and it's entirely avoidable with a setting most merchants forget to check.
Mistake 4: Not Checking Mobile Preview Most plugin dashboards include a mobile preview toggle. Use it — a recommendation block that looks fine on desktop can crowd the screen on mobile, where the majority of WooCommerce traffic usually is.
Mistake 5: Setting It Up Once and Never Returning Even a no-code tool benefits from a monthly five-minute check of what's actually being recommended on your top products. If something looks off, most dashboards let you manually override a specific product's recommendations without any code.
What Good Performance Looks Like
Realistic benchmarks for a WooCommerce store running a no-code AI recommendation setup correctly:
| Metric | Typical Range | Good Performance |
|---|---|---|
| Recommendation Click Rate | 7–14% | 14%+ |
| Add-to-Cart from Recommendation | 3–7% | 7%+ |
| AOV Lift (vs. static fields) | 10–22% | 22%+ |
| Revenue Attributed to Recommendations | 12–28% of total | 28%+ |
If your numbers are below range after the first month, it's almost always one of the mistakes above — not a limitation of running this without custom code.
One Thing Most No-Code Guides Skip
Even a fully no-code setup depends on the quality of the data feeding it — and that part does require a little manual work, just not coding.
If your product titles are generic, your categories are inconsistent, or half your products are missing attributes, the AI has very little signal to work with, no matter how well the plugin itself is configured. Before spending more time on placement and labels, spend 20–30 minutes in your WooCommerce product list:
- Fill in missing categories and tags
- Add consistent attributes (size, material, use case)
- Write product descriptions long enough to carry real signal
This is entirely admin-panel work — bulk-editable in WooCommerce without touching code — and it's the single biggest lever on recommendation accuracy from day one. It's the same principle covered in more depth in our guide on AI cross-sell and upsell plugins for WooCommerce AOV .
Frequently Asked Questions
Next Steps
If you've been putting off AI recommendations on WooCommerce because it sounded like a development project, it isn't one anymore. Install the plugin, connect your store, turn on the product-page placement below Add-to-Cart, and relabel it to something specific like "Complete your order" — that's the highest-impact change, and it takes about fifteen minutes from start to finish.
For the cart-page layer once you're ready to extend this further, see our guide on reducing cart abandonment on WooCommerce with an AI sales agent , or check our comparison of the top AI sales agents for WooCommerce if you're still deciding which tool fits your store.
Keywords