How to Connect the ReComAI Sales Agent Plugin to Your WooCommerce Store
A complete step-by-step guide to installing the ReComAI plugin, setting up your AI sales assistant, and going live on your WordPress + WooCommerce store.
With the ReComAI Sales Agent plugin for WordPress, you can connect directly to your WooCommerce store and give shoppers a smarter, more personal way to browse and buy. Instead of scrolling through endless product pages, customers can ask questions, get instant recommendations, and even compare options — just like talking to a real sales assistant. It's a faster, friendlier way to help people discover products, feel confident in their choices, and move smoothly through checkout.
This is especially valuable for store owners who want to reduce abandoned carts, answer product and order questions 24/7, and keep customers engaged after a purchase. From personalized recommendations to real-time order updates, ReComAI keeps the conversation flowing while supporting sales and customer satisfaction. Whether you're running a small shop or managing a large catalog, it makes shopping more interactive, efficient, and enjoyable.
What You Need for This Setup#
Setting Up the ReComAI Sales Agent Plugin#
Once WooCommerce is active on your store, installing and connecting ReComAI takes just a few minutes. Follow the steps below in order.
From your WordPress dashboard, go to Plugins in the left-side menu and click on it.
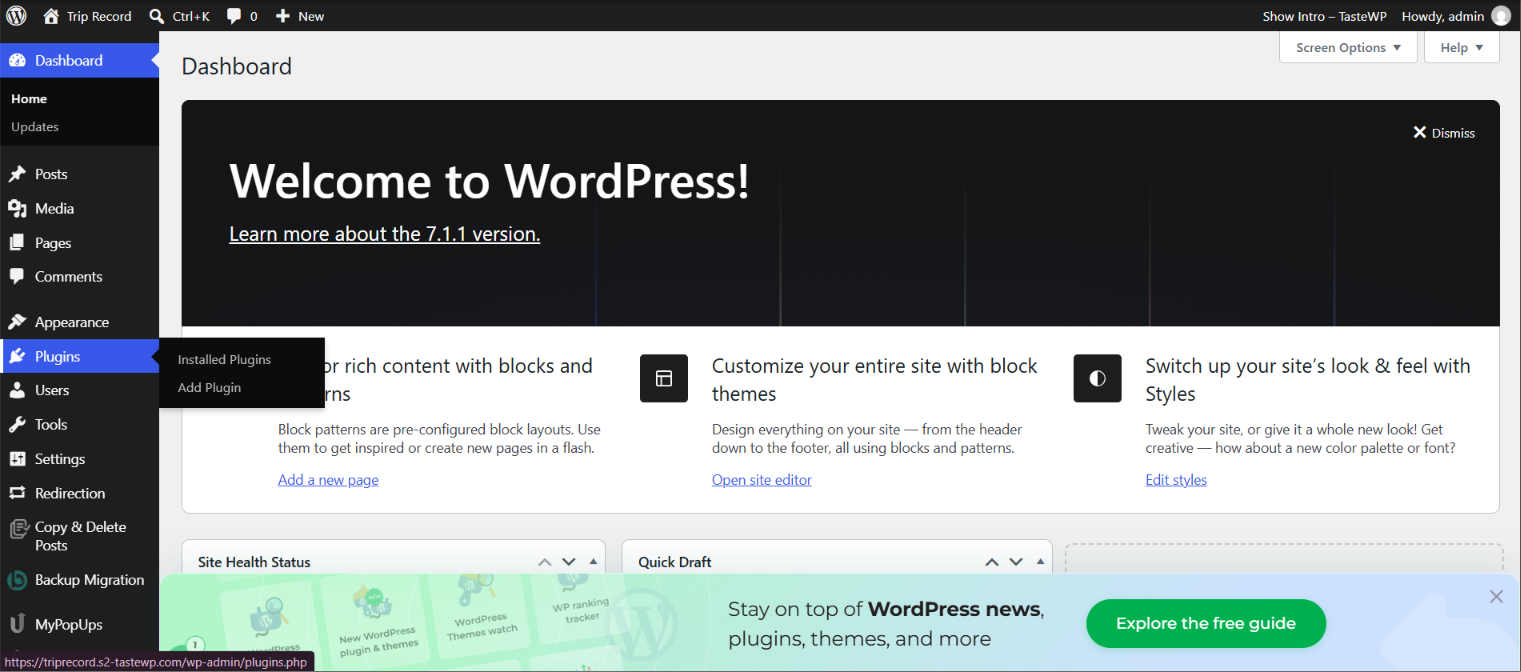
On the Plugins page, click the Add Plugin button at the top.
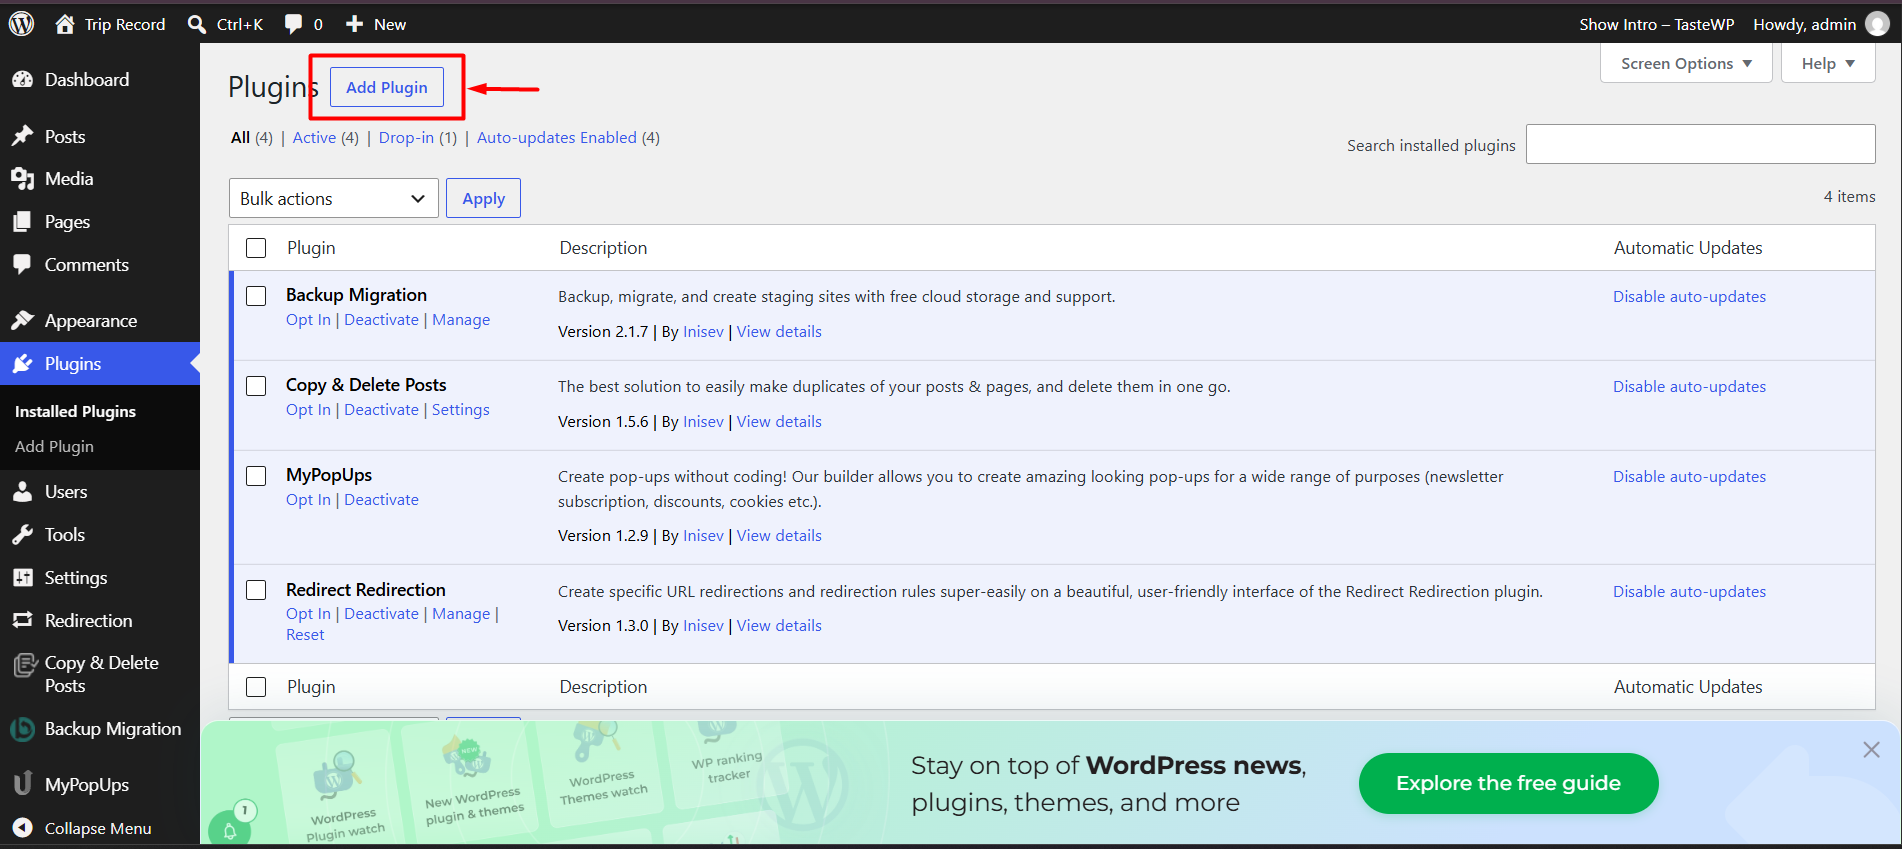
In the Search Plugins box, type "ReComAI", then locate the ReComAI Sales Agent plugin in the results.
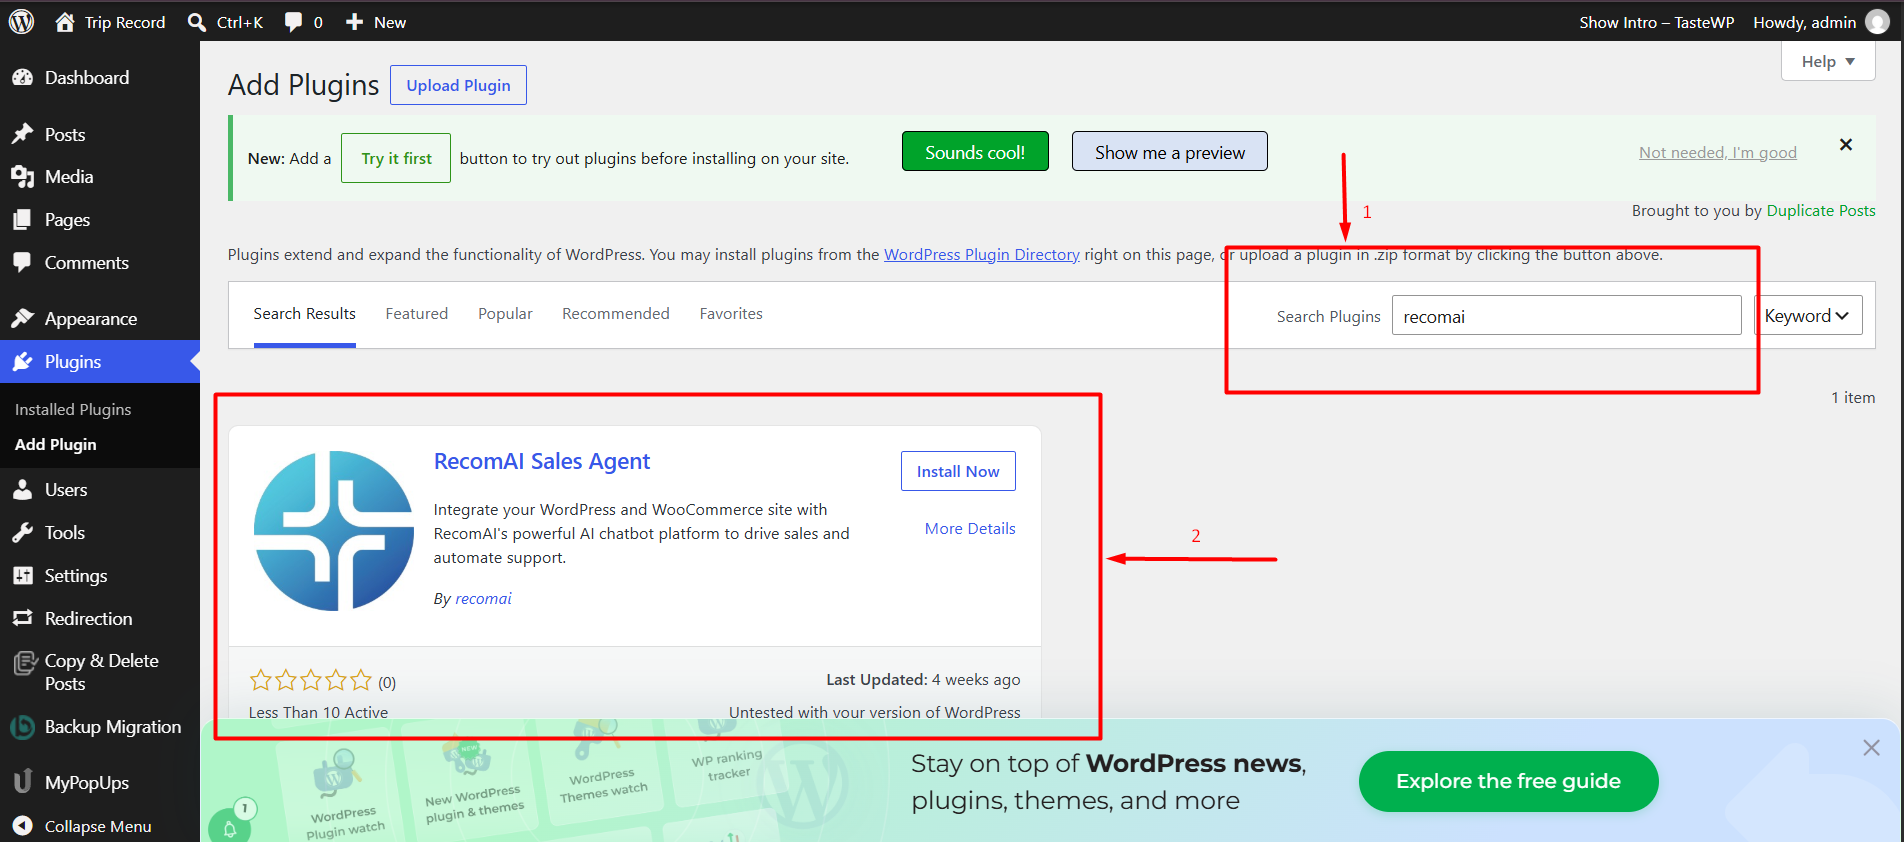
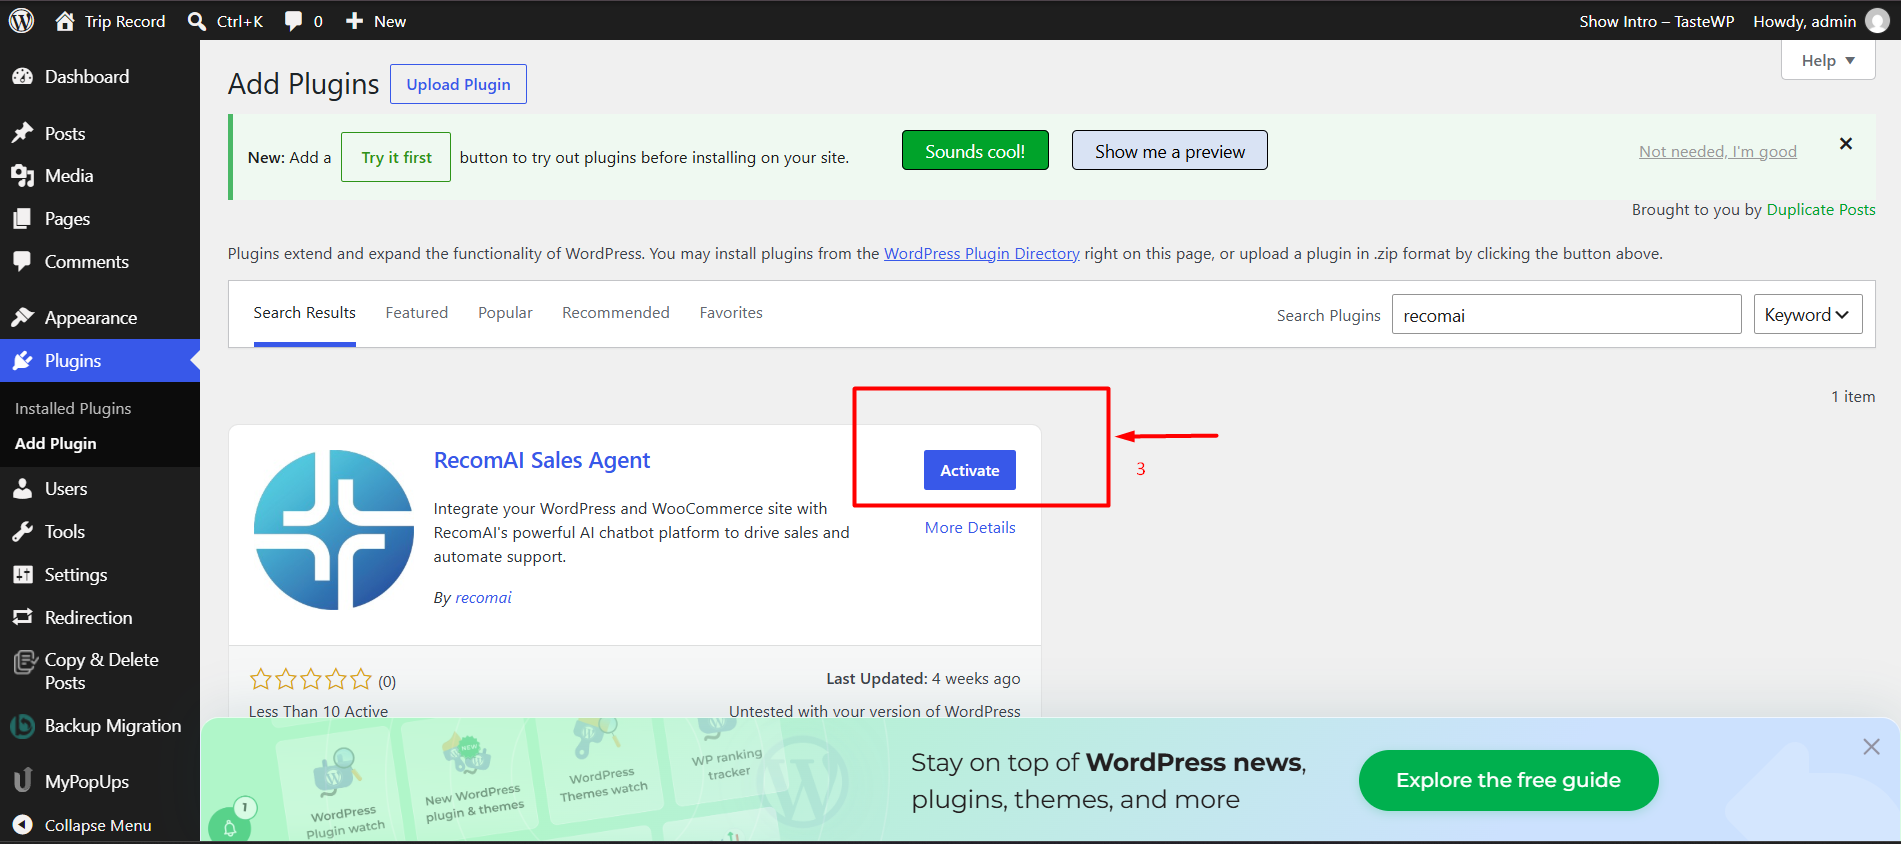
Click Install Now, then click Activate to enable the ReComAI Sales Agent plugin on your site.
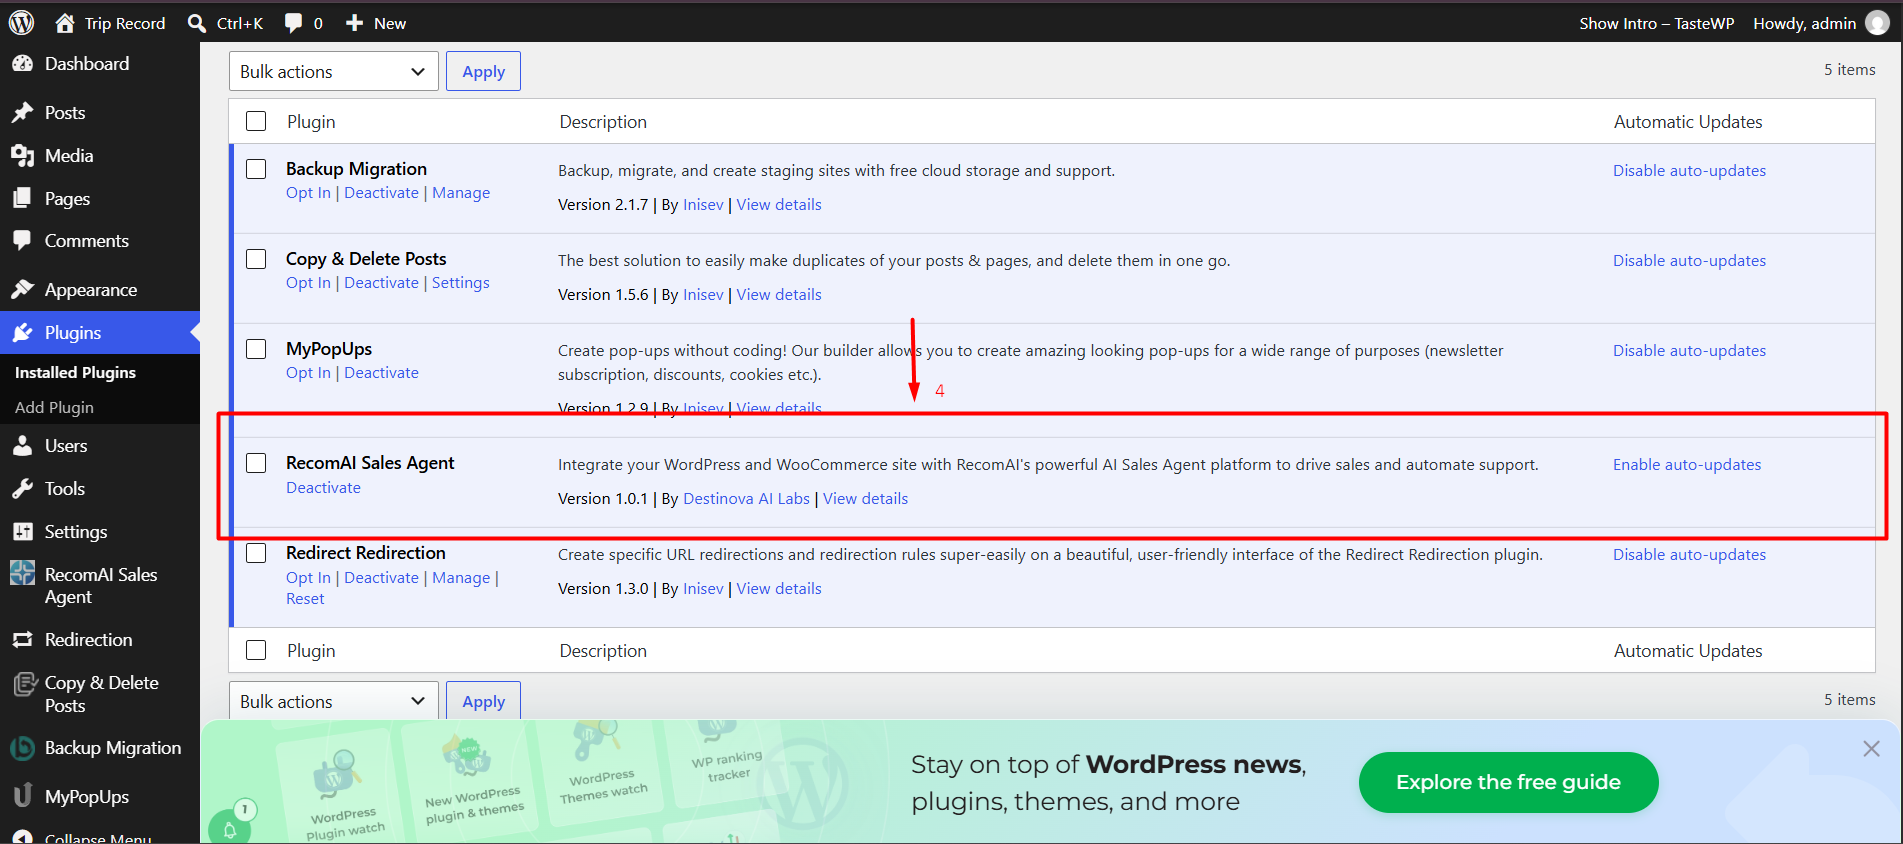
Once activated, click ReComAI Sales Agent in the left-side menu of your WordPress dashboard to open the plugin settings.
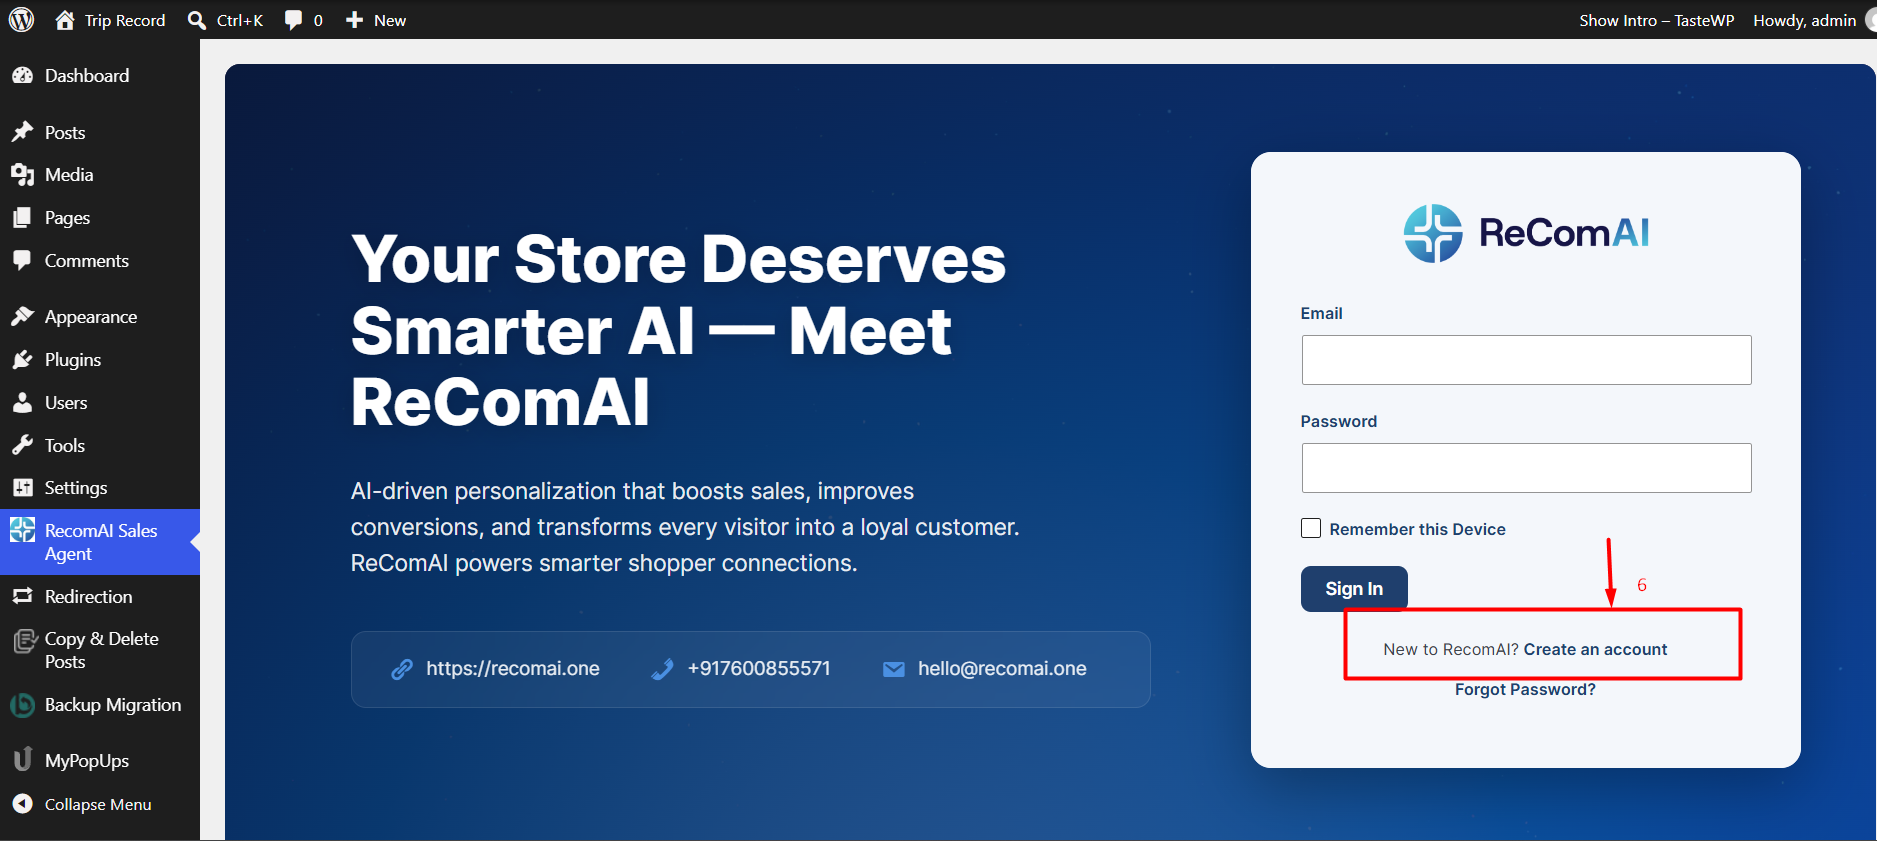
If you're a new ReComAI user, click Create an Account to register and continue with the setup. If you already have an account, log in instead.
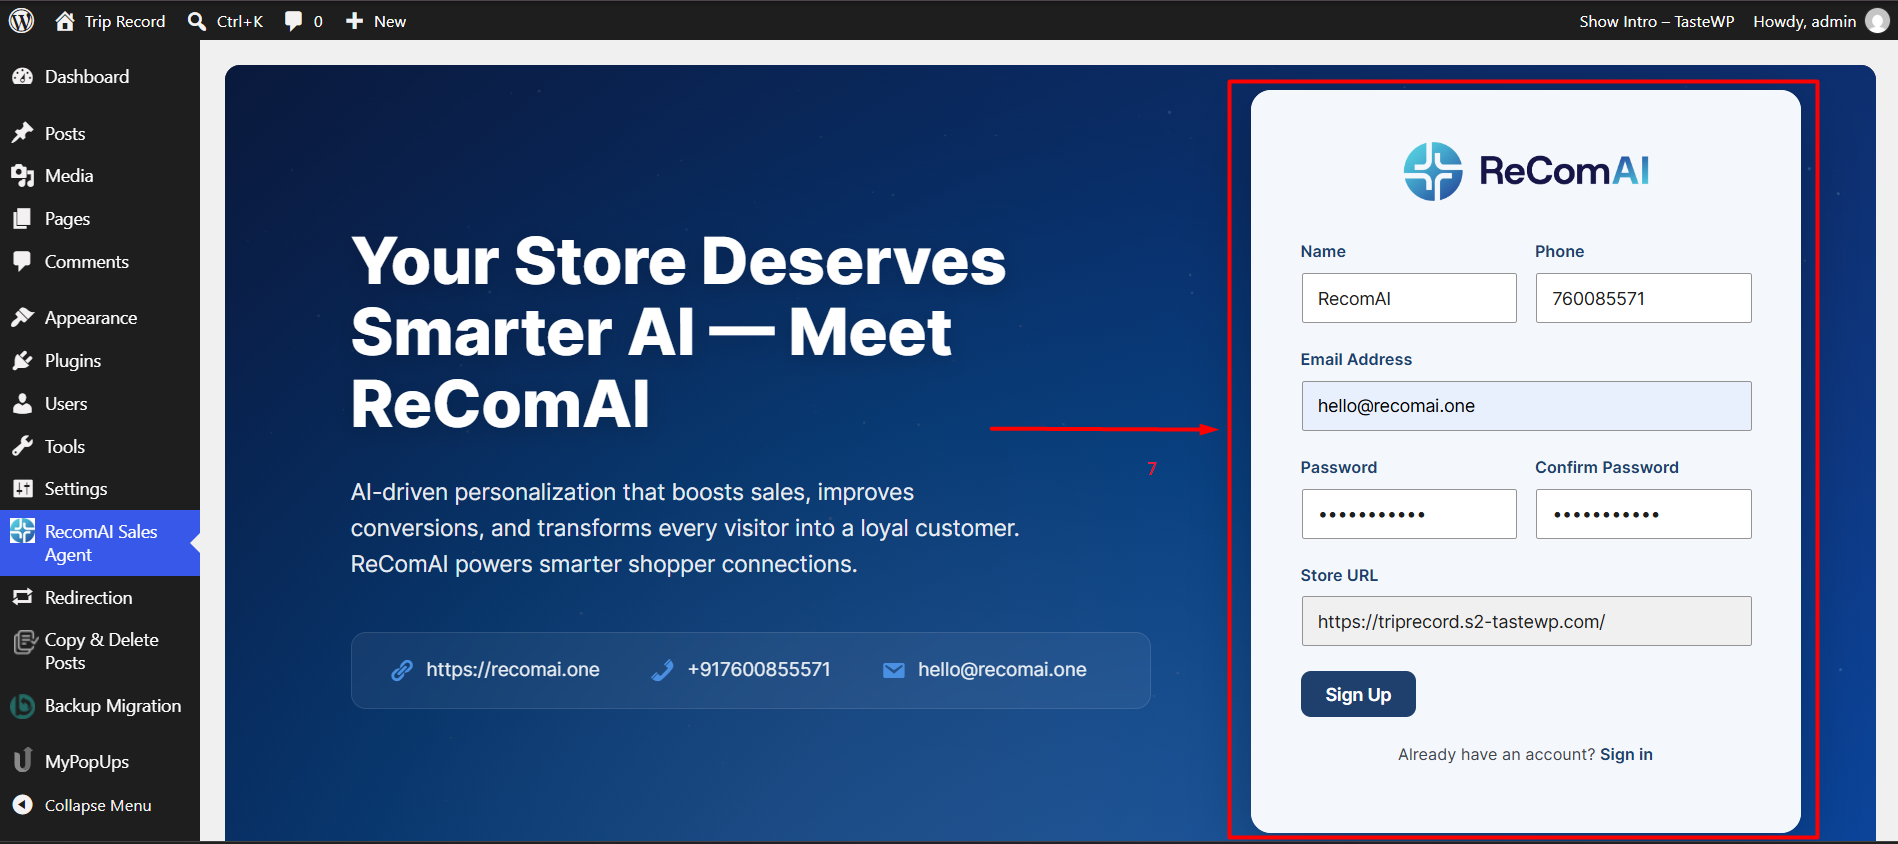
Enter your Name, Phone, Email Address, Password, Confirm Password, and Store URL. Then click Sign Up.
An OTP (One-Time Password) will be sent to the email address you entered. Check your inbox, enter the OTP to verify your email, and click Continue to proceed to the next step.
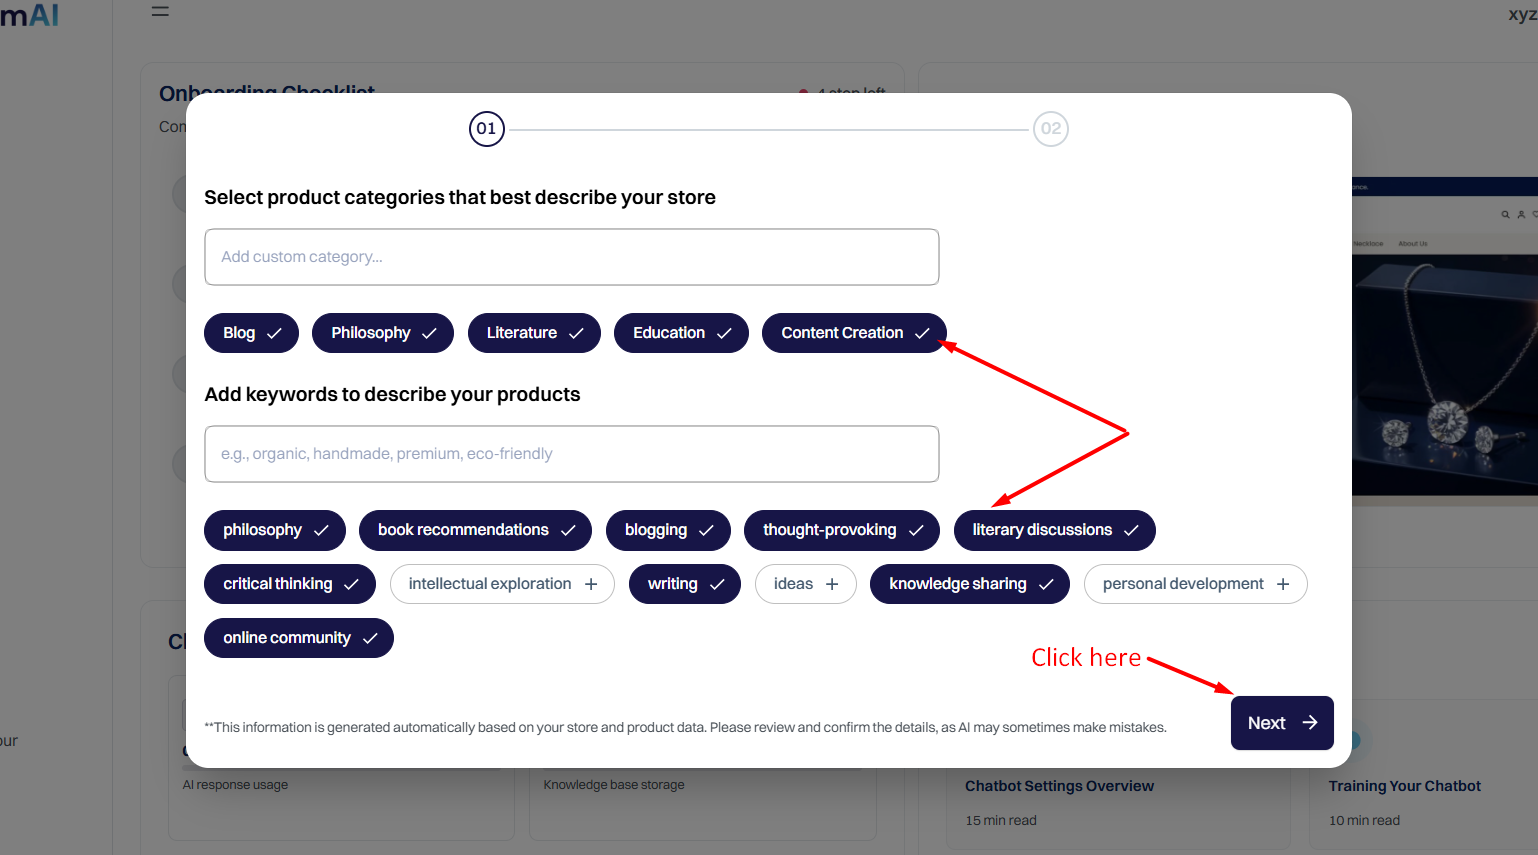
Once you click Sign Up, the onboarding process starts automatically. ReComAI analyzes your website in the background and generates AI keywords that best describe your store and products.
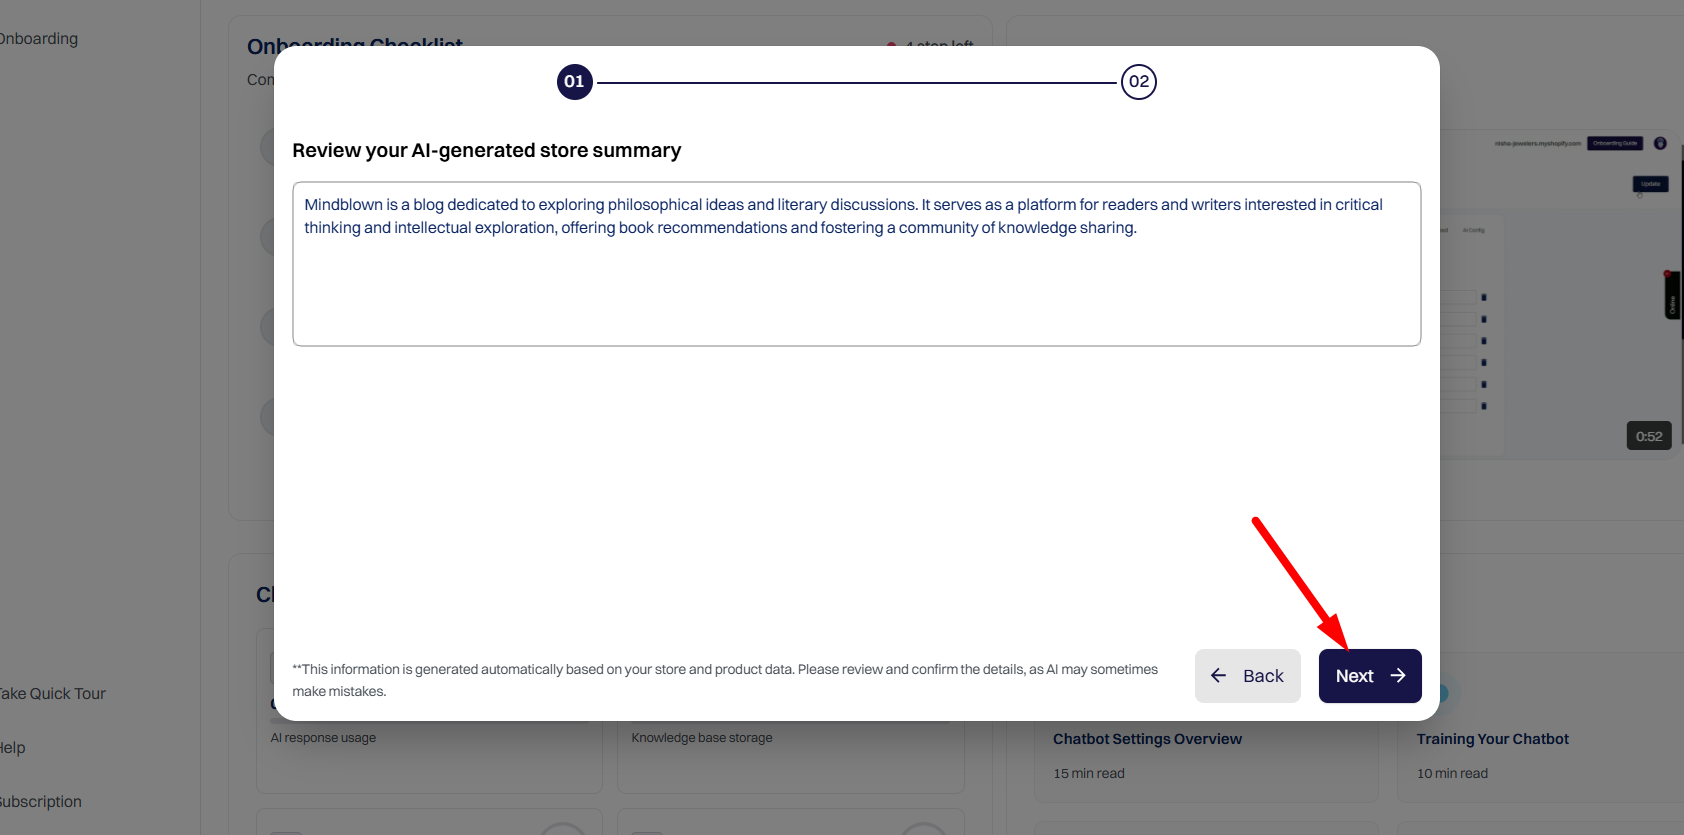
After clicking Next, ReComAI automatically generates a summary of your store based on the information it gathered.
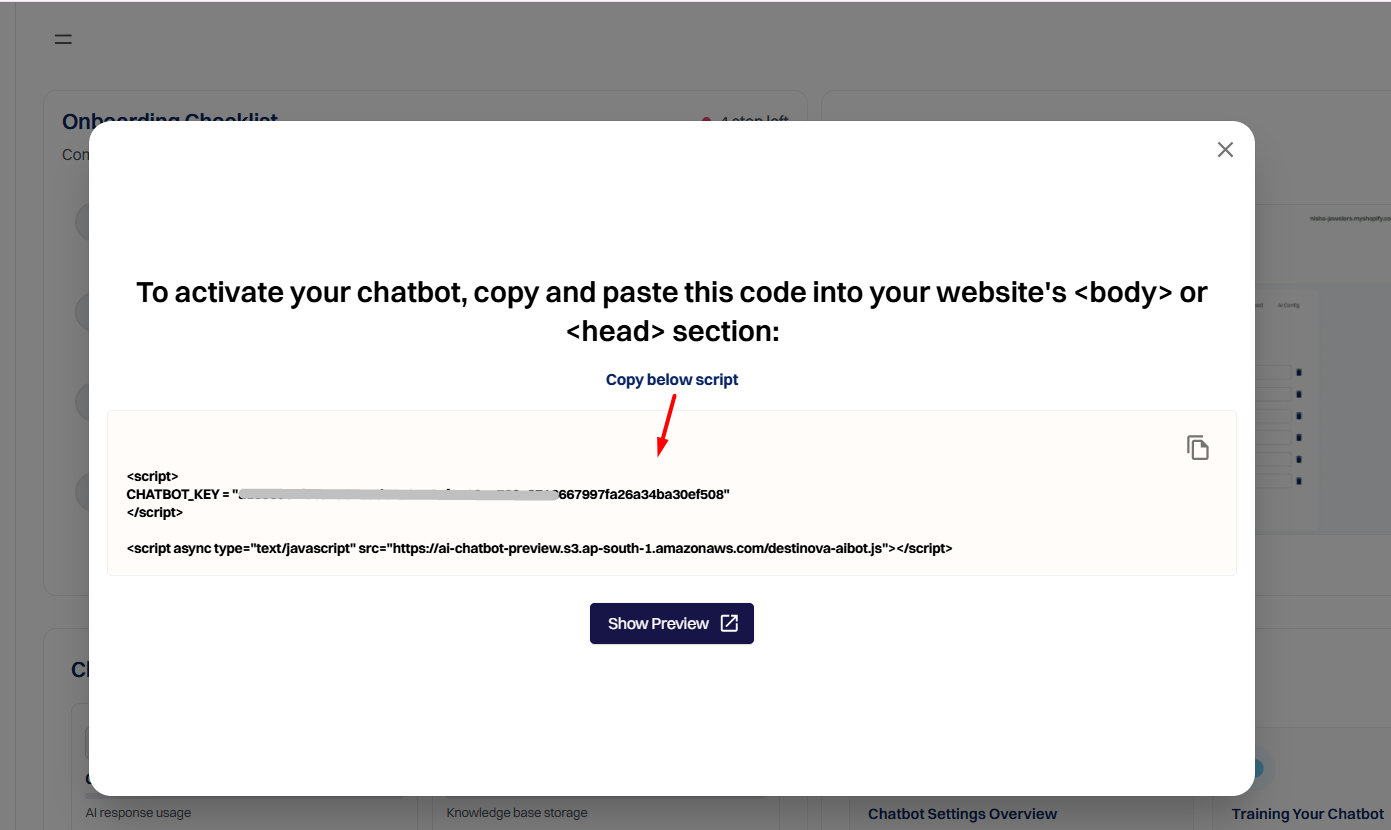
After clicking Next, a popup will appear showing your unique chatbot activation script (with your CHATBOT_KEY). This script is specific to this website — if you ever need to manually add the chatbot again (for example, on a custom theme or page builder), you can copy and paste this same script into your website's <body> or <head> section.
Since you're setting up through the WordPress plugin, the script will be added automatically — you don't need to copy it manually. Simply close this popup to continue.
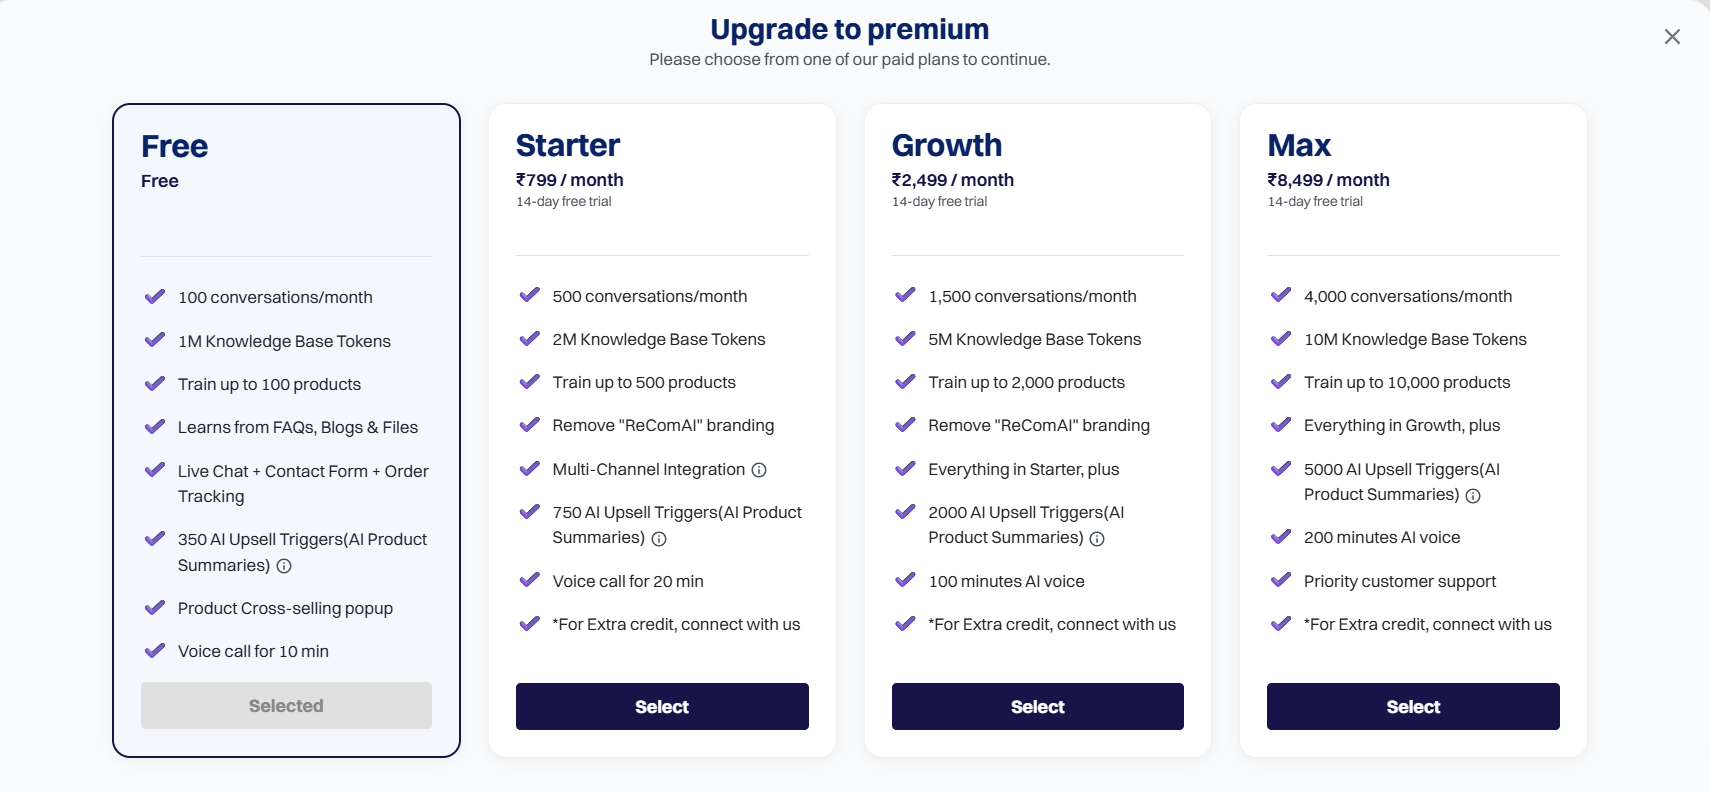
After closing the script popup, you'll see the available pricing plans. Select the plan that best fits your needs — Free, Starter, Growth, or Max. You can change your plan later at any time.
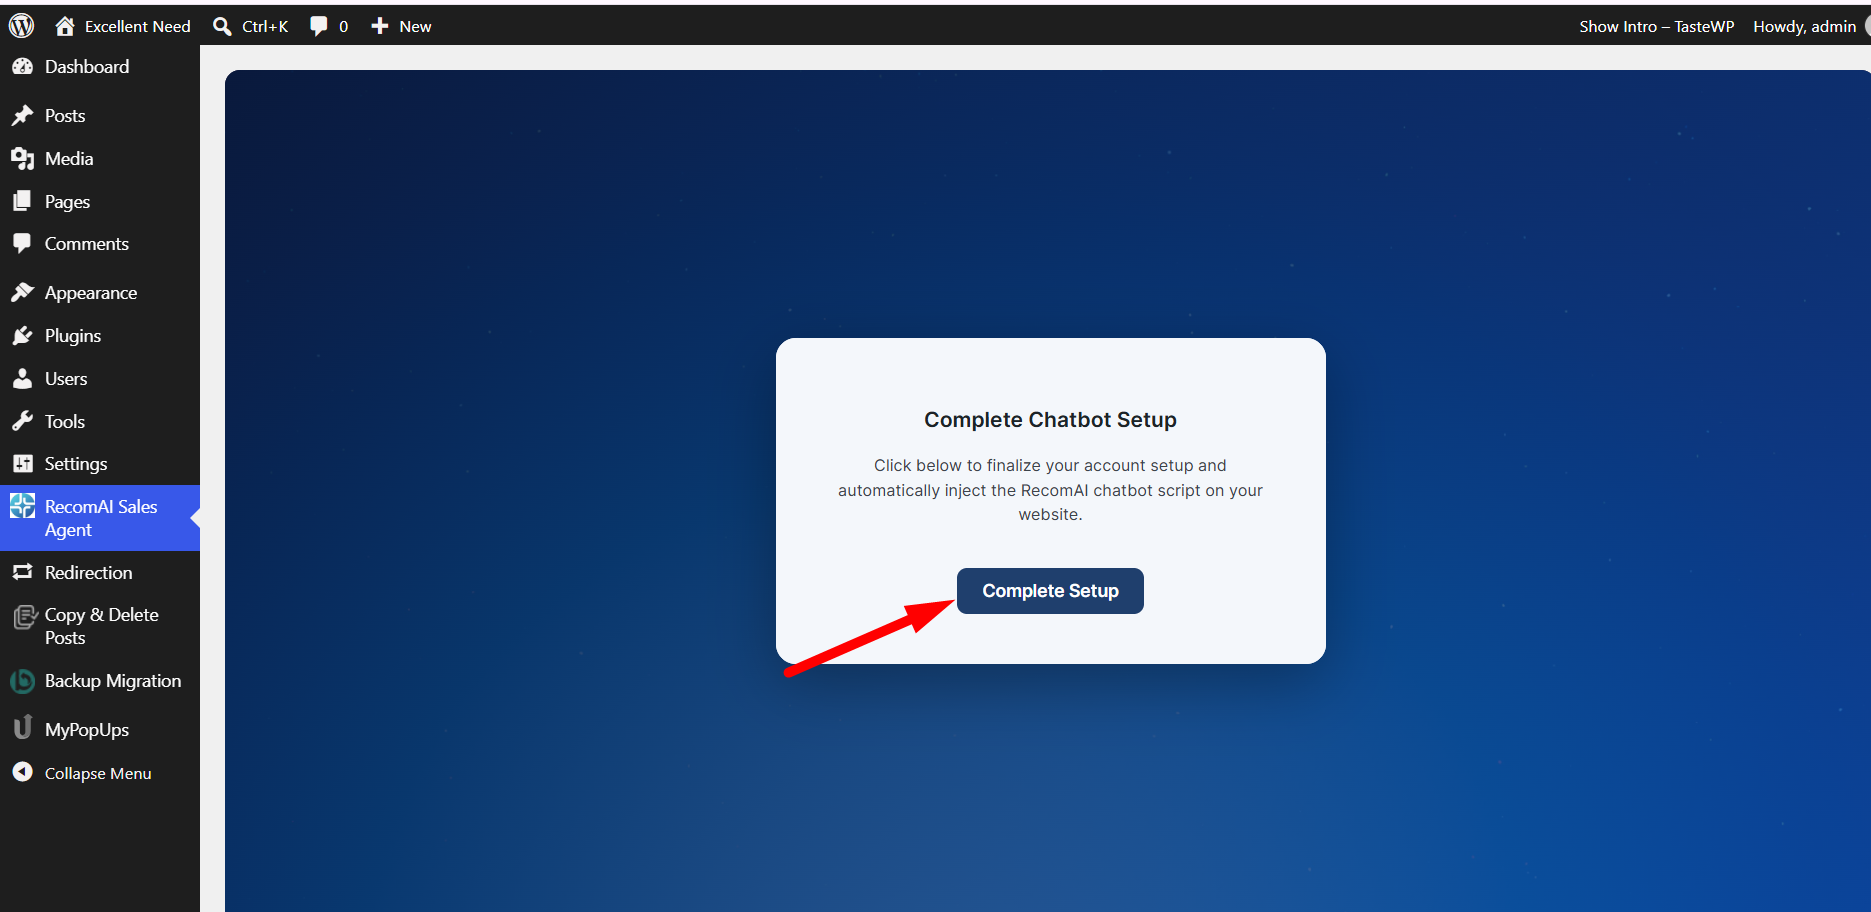
Return to your WordPress dashboard. A "Complete Chatbot Setup" popup will appear. Click Complete Setup to finalize your account and automatically inject the ReComAI chatbot script onto your website — no manual coding required.
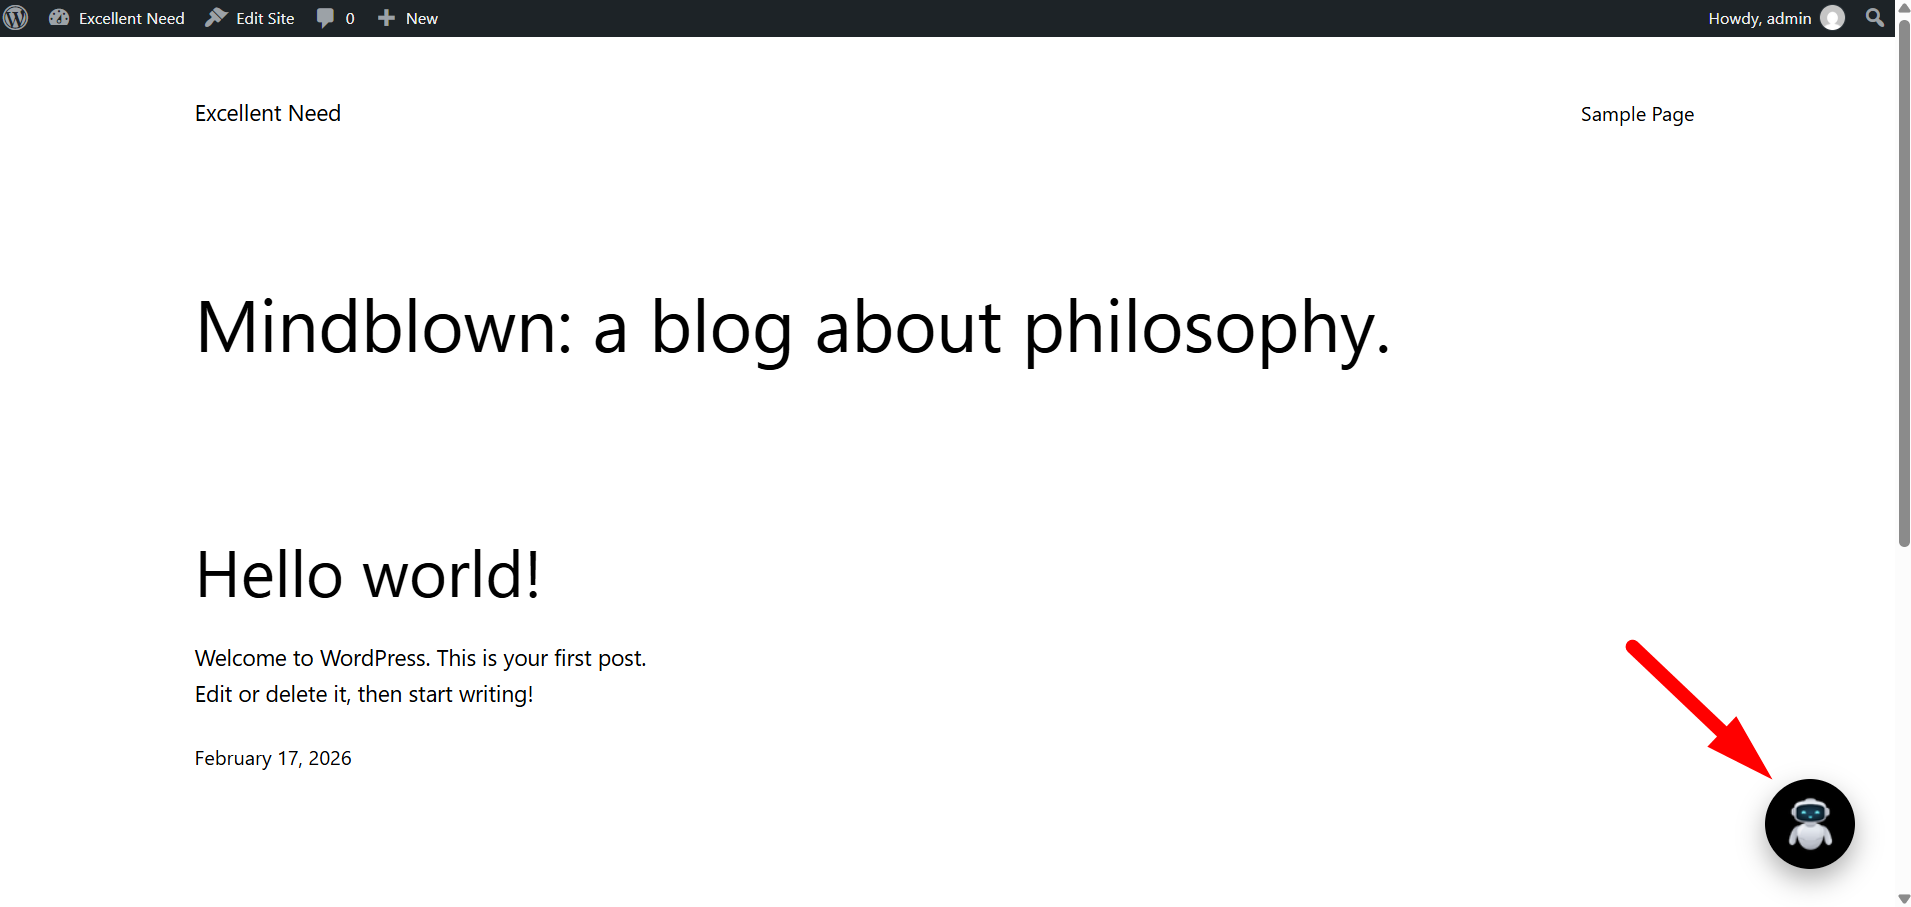
That's it! Visit your live website's front end to see the ReComAI chat widget active and ready to interact with your customers.