Data Source Section – Complete Guide to Training Your Chatbot
Connect your Knowledge Base to chatbots for accurate and intelligent responses
The Data Source section is where you connect your chatbot with the knowledge it needs to answer customer questions accurately.
Whenever you want to increase your chatbot’s knowledge—such as adding new products, FAQs, PDFs, or URLs—you must link that data to the chatbot using the Data Source tab.
Important:
Adding data to the Knowledge Base alone is not enough.
Until the data is added inside Chatbots → Data Source, the chatbot cannot read or use that knowledge.
How Knowledge Base and Data Source Work Together
To understand this clearly, think of it in two steps:
1.Knowledge Base
This is where you add and train your data
You can add:
Products
FAQs
PDFs
URLs
All data is trained here first
2.Data Source (Inside Chatbot Settings)
This is where you assign trained knowledge to a chatbot
You control which data each chatbot can access
In short:
Knowledge Base = Where data is stored and trained
Data Source = Where data is connected to a chatbot
Where to Find the Data Source Section
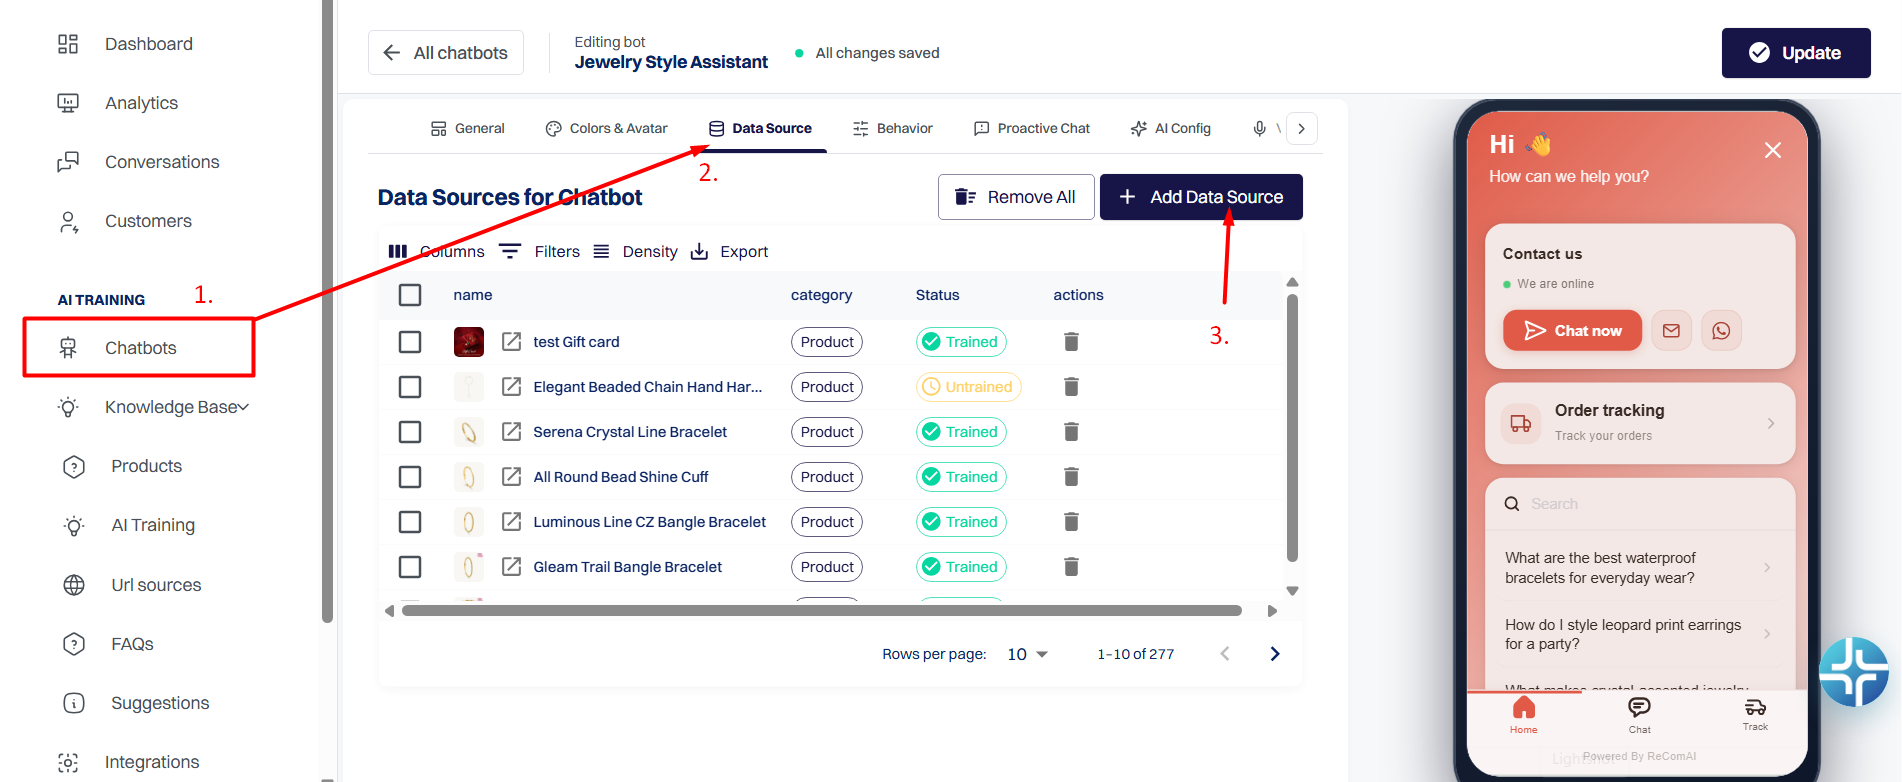
Log in to your ReComAI dashboard
Go to Chatbots from the left sidebar
Select the chatbot you want to train
Open the Data Source tab
This section defines what knowledge the chatbot can read.
How to Add Knowledge to the Data Source
Follow these steps to correctly train your chatbot:
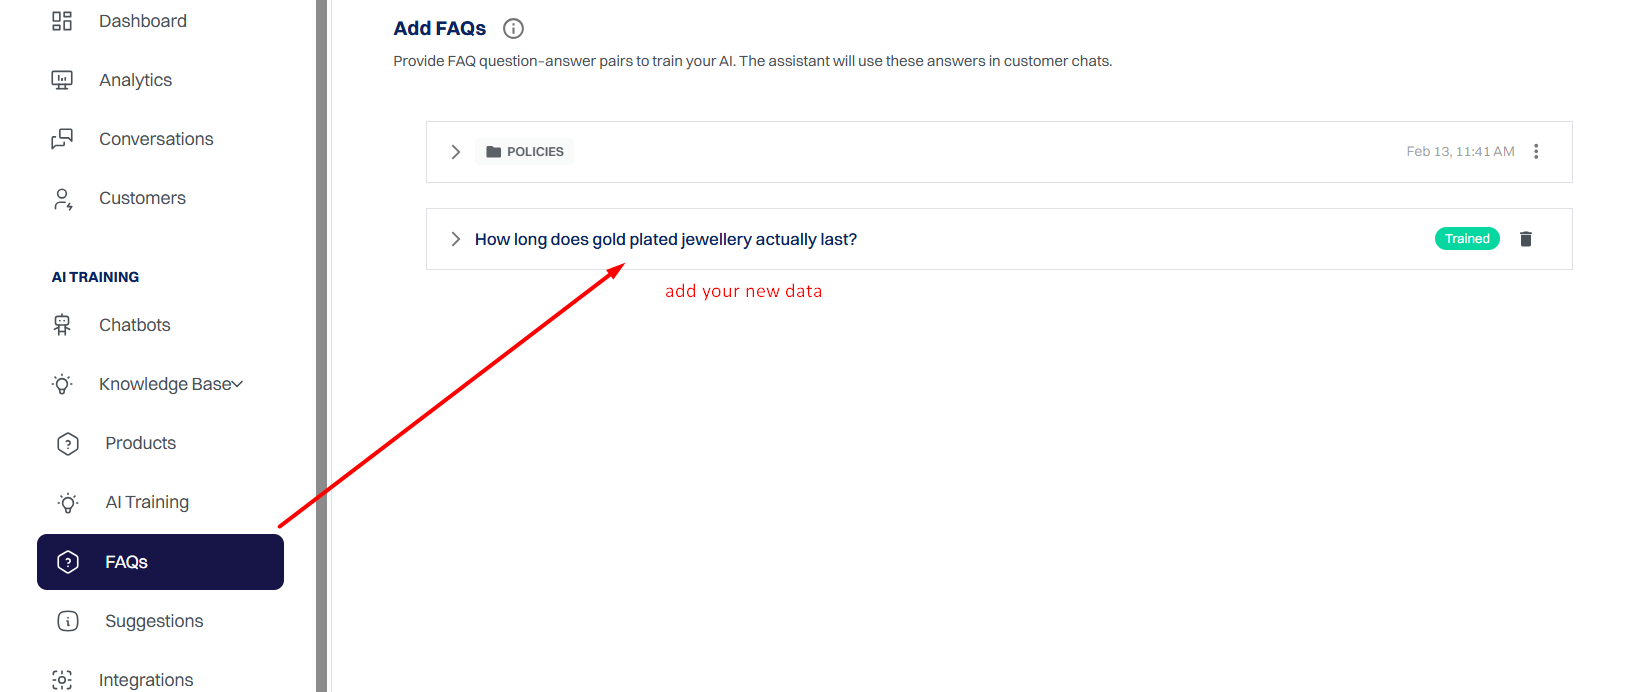
Step 1: Add Data to the Knowledge Base
Go to the Knowledge Base section
Add your:
Products
FAQs
PDFs
URLs
Make sure the data is successfully trained
Step 2: Open the Data Source Tab
Navigate to Chatbots → Data Source
Click Add Data Source
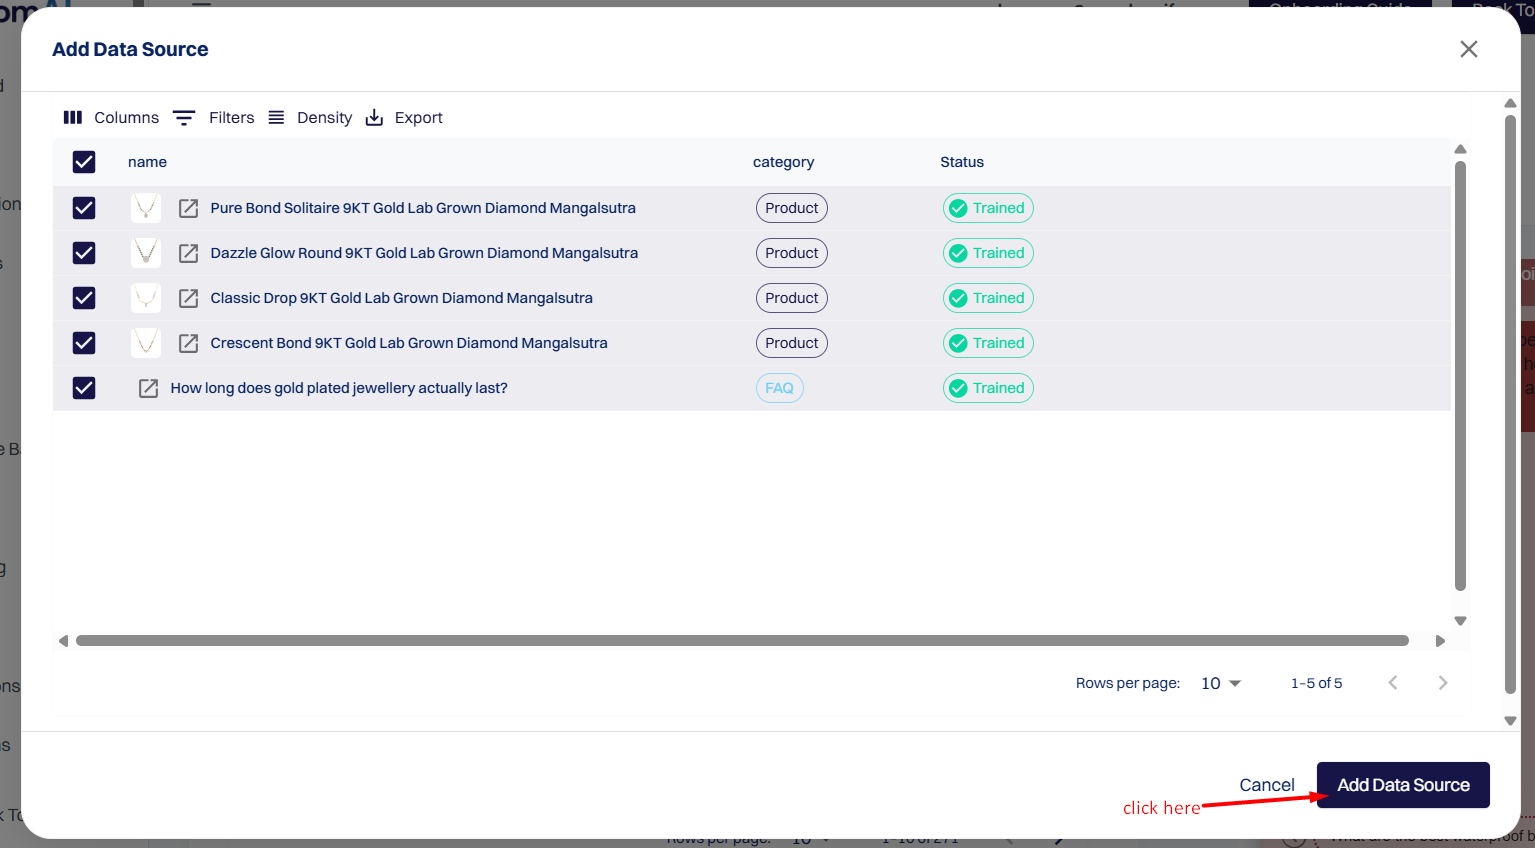
Step 3: Select Knowledge Base Items
A popup will appear showing all trained data
This includes everything you added in the Knowledge Base
Step 4: Choose the Data You Want to Use
Select the products, FAQs, or documents you want the chatbot to access
You can assign different data sets to different chatbots
Step 5: Add and Save
Click Add Data Source
The selected items will appear in the Data Source list
Status will show as Trained
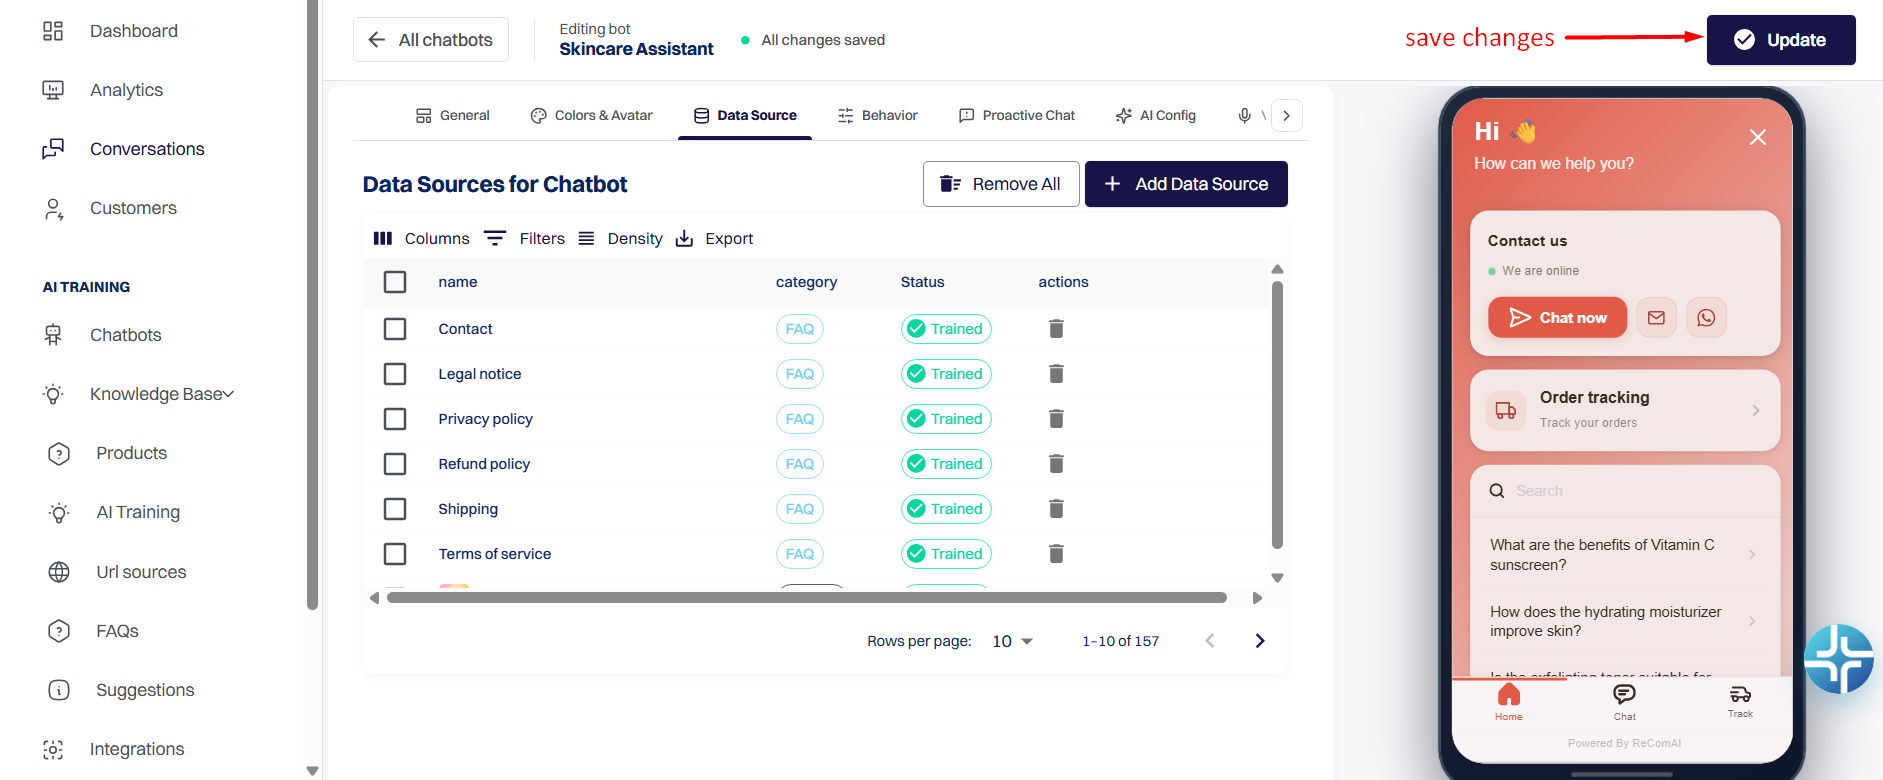
Once the data source is added, don’t forget to click “Update” to save the changes and activate them for the chatbot.
What Happens After Adding a Data Source?
The chatbot can read the newly added knowledge
User questions are answered more accurately
Separate knowledge sets can be maintained for different chatbots
Important Reminder
If knowledge is not added to the Data Source section:
The chatbot will not read that data
The chatbot will not use it to answer user questions
That’s why both steps are required:
Add and train data in the Knowledge Base
Assign it to the chatbot using Data Source